Slipstreaming can be a useful thing when re-installing XP. It
is used to add updates and other programs to your Windows XP CD, so that you
will not have to install them after you install Windows. For example, you
can copy the installation directory from your XP CD-ROM to the hard drive,
slipstream the XP SP1 (Service Pack 1) files into that installation
directory, and than write it back to a recordable CD, giving you a bootable
copy of the XP setup disk that includes SP1a. You can also do the same with
e.g. hot-fixes.
A guide on how to do this with Service Pack 1a follows:
1. Insert a bootable Windows XP CD-ROM into your DVD/CD-ROM drive. Create
a folder in the root of your C: drive called XP (C:\XP) and copy the
contents of the CD-ROM to that folder.
2. Download XP SP1a and extract it
Windows XP Service Pack 1 here
-
The download version of this file is named
xpsp1a_en_x86.exe (Rename to XPSP1.exe). I suggest you change the
filename to xpsp1.exe.
-
Create a new folder called sp1 on the C drive (C:\sp1) and
then copy the xpsp1.exe file to that location.
-
Now you need to open "cmd.exe" (Start/Run and type cmd.exe
and hit ENTER). Now type the following commands:
(Press the ENTER button after each command line)
3. In this part we are going to combine XP and SP1.
(Press the ENTER button after each commandline)
cd i386
cd update
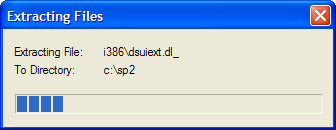
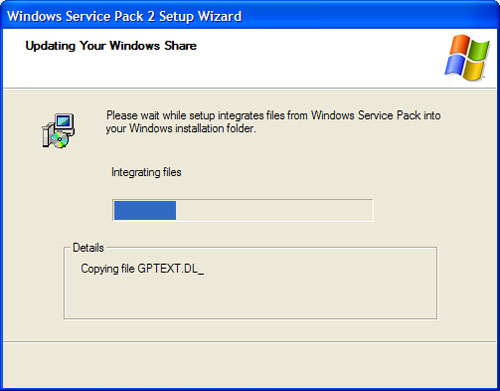
update -s:c:\xp
4. Next you need to extract the file which is needed to
make your CD-ROM bootable.
Download IsoBuster here
-
After you download and install ISOBuster, choose to use
only the product's free functionality, unless you decide to purchase it.
-
Launch ISOBuster, assuming you still have your XP CD-ROM
in your drive it will look like this:
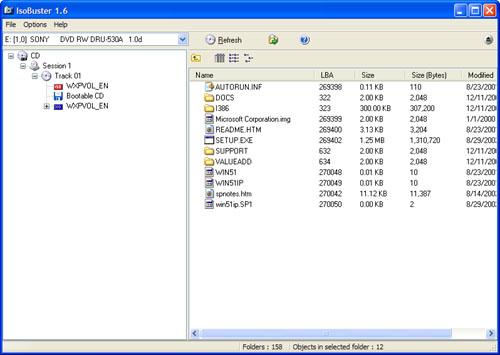
-
On the left-side tree view, make sure you have selected the node named
Bootable CD. You should see a file called Microsoft Corporation.img (or
similar; it will be named something.img) in the right side of ISOBuster.
This is the file you need to extract. To do so, right-click and choose
Extract Microsoft Corporation.img. When ISOBuster prompts you, choose to
download it to the root of your C: drive. Now you can close ISOBuster.
5. The final step is burning the SP1 slipstreamed version of XP.
-
Start My Computer and make a note of the volume name of
your Windows XP CD.
-
Eject the XP CD and place a burnable CD (CD-R or CD-RW) in
your drive.
-
Note: The burning part is based on Nero Burning ROM 6 due
to this is the method i used and Nero is the most commonly used burning
application.
-
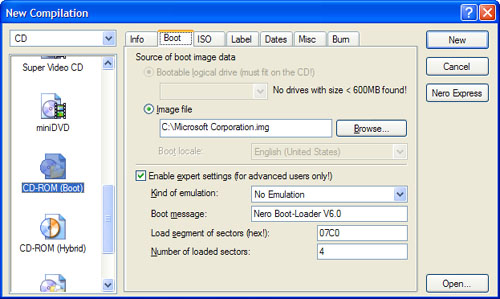
First, start Nero Burning ROM and choose CD-ROM (Boot)
from the New Compilation's Boot page.
-
Secondly, under "Source of boot image data," choose "Image
file" and select C:\Microsoft Corporation.img by clicking the Browse
button.
-
Thirdly, select the option titled "Enable expert settings
(for advanced users only)" and change "Kind of emulation" to No
Emulation, and change "Number of loaded sectors" to 4.
-
Lastly, "Load segment of sectors" option should remain at
its default value of 07C0. When this step is completed, the Nero Burning
ROM application should resemble the following:
-
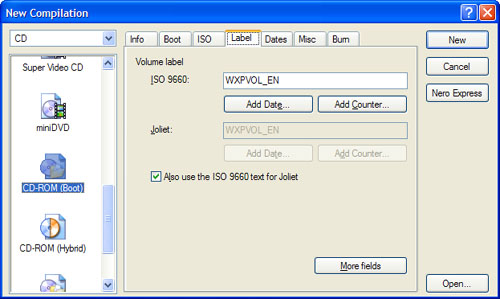
Now, select the Label page in Nero Burning ROM. Under "Volume label, ISO 9660"
enter the name of your CD (WXPVOL_EN in my case).
-
When completed, this page of the dialog should resemble the following:
-
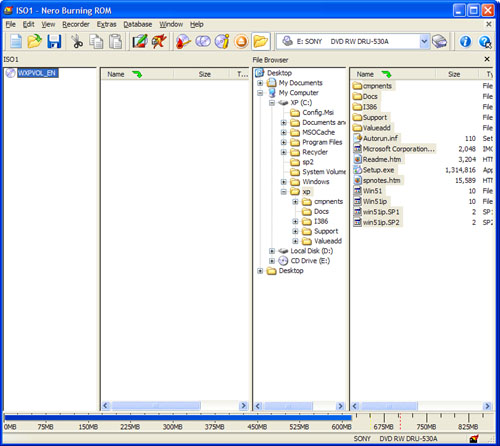
Now, click the New button.
-
The New Compilation dialog disappears and the main window of Nero Burning ROM
is available, as shown here.
-
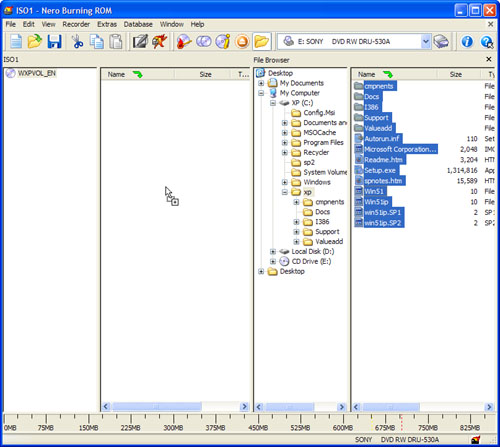
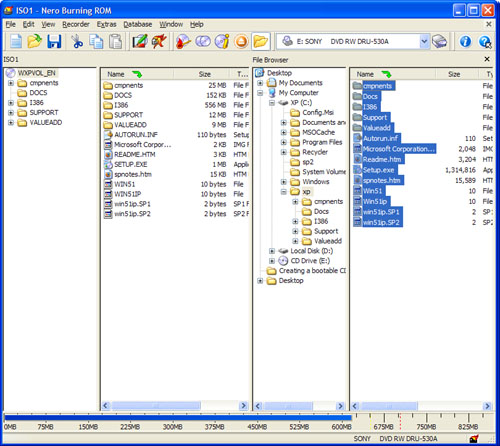
On the right side of the application, in the File Browser area, navigate to
C:\xp.
-
Then, select all of the files inside of that directory and copy them over to
the new CD, as shown here:
-
Now you're ready to burn the CD. Click the Burn icon in the toolbar, or choose
Recorder and then Burn Compilation, and then click the Burn button. Nero
will cache the files and then write them to disc.
Finally I would like to add that if you understood the commands written in
cmd.exe, basically the same method is used when slipstreaming XP with
hot-fixes.
Site
Related
Hardware
links -
Internet links -
Other links
- Software
Links -
Web Design links
By using
this website you are agreeing to this Disclaimer & Legal statement
|